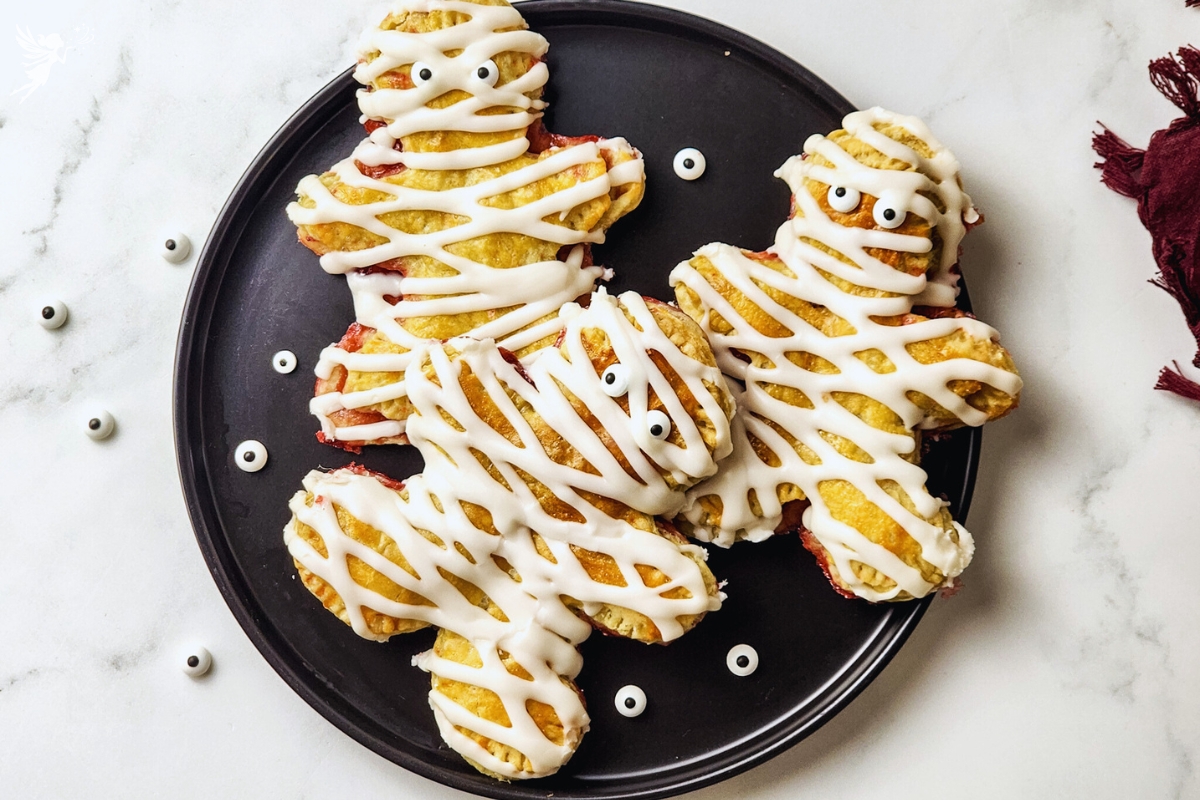
Spooky Sweet Homemade Mummy Pop Tarts Recipe
These Mummy Halloween Pop Tarts are such a fun way to bring a little spooky charm to your celebrations without a lot of effort. You don’t need fancy decorating skills—just a few basic ingredients and a little creativity.
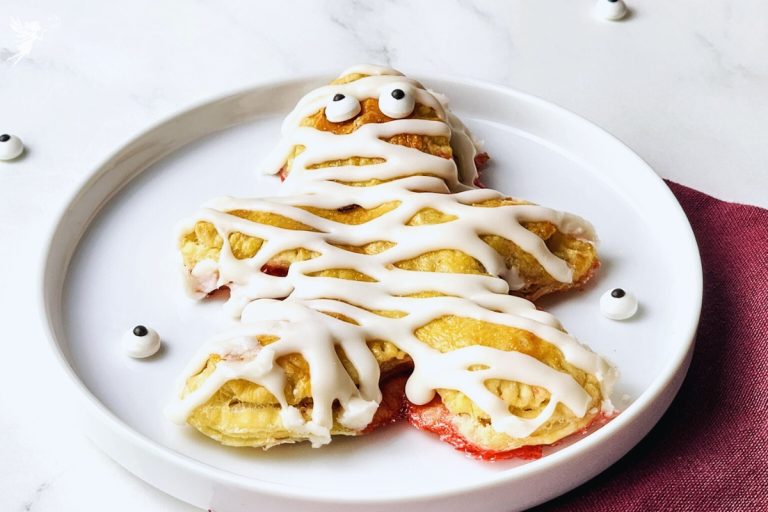
They’re easy, simple, and delicious, made with flaky pastry, your favorite sweet filling, and a drizzle of icing to create those classic mummy “bandages.” A couple of candy eyes adds the finishing touch, giving them a playful personality that both kids and adults will love.
What I enjoy most about this recipe is how quickly it comes together while still looking impressive on the table. Whether you’re making them for a Halloween party, school treat, or a fun baking project, they’re always a hit.
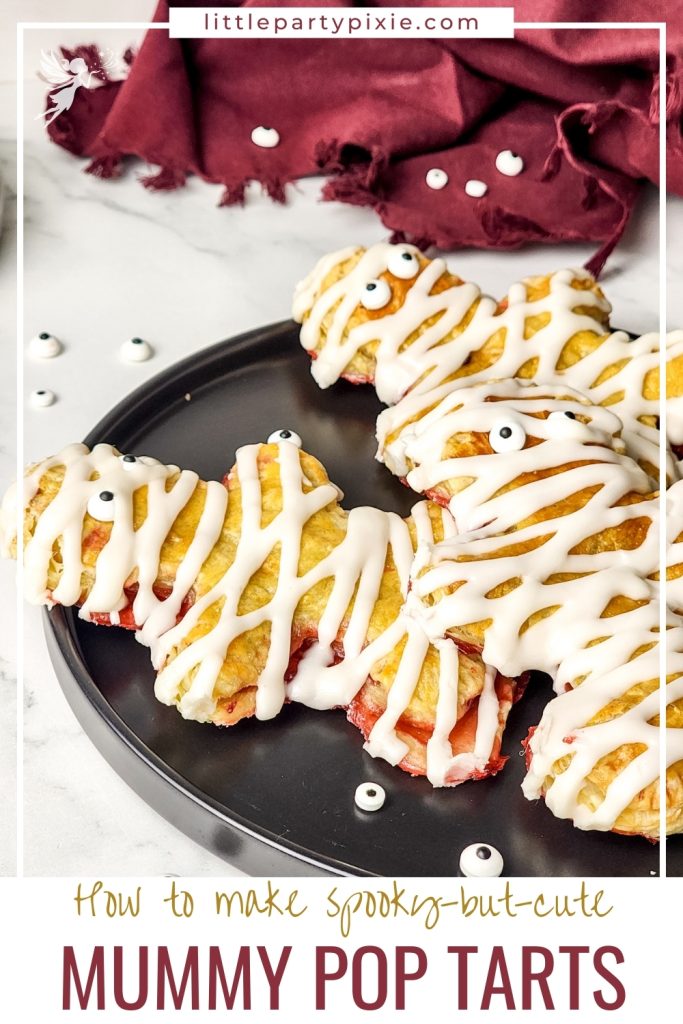
Can’t make it now? Save it to Pinterest for later
Equipment You Will Need
- Measuring cups and spoons
- Baking sheet
- Parchment paper
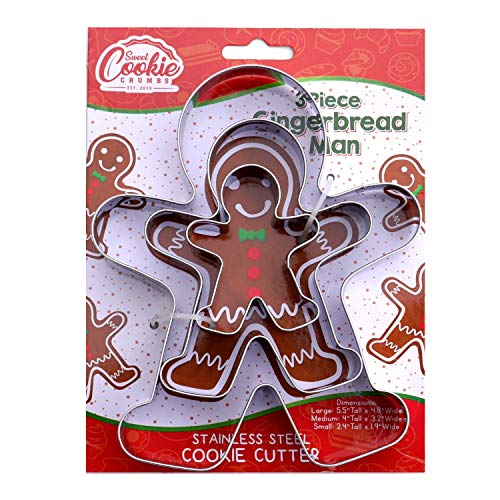
- Large gingerbread man cookie cutters
- Fork
- Small spoon
- Whisk
- Pastry brush
- Small mixing bowl
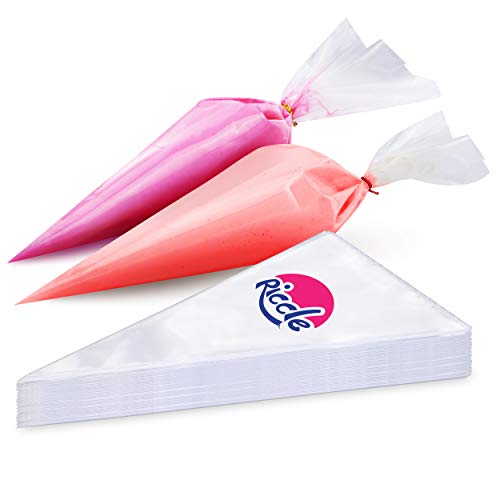
- Piping bag
- Wire cooling rack

Mummy Halloween Pop Tarts Recipe
These Mummy Halloween Pop Tarts are a fun and spooky treat made with flaky pastry, sweet filling, and drizzled icing bandages. Cute candy eyes give them a playful mummy look, making them perfect for Halloween parties or festive snacks.
- Total Time: 40 minutes
- Yield: 3 1x
Ingredients
2 refrigerated puff pastry sheets
3/4 cup strawberry jam
Egg for egg wash
For Icing:
1 1/2 cups powdered sugar
1/2 teaspoon vanilla extract
3–4 tablespoons milk
Edible eyes
Instructions
- Preheat the oven to 180 degrees Celsius. Prepare a baking sheet with parchment paper.
- Take the thawed puff pastry sheets and use a large gingerbread man cookie cutter, to create 6 jumbo pastry cut outs.
- Place 3 of the cut outs onto the prepared baking sheet.
- Take a small spoon to fill the center of each man cut out with strawberry jam, leaving at least 1/2 to 1 inch of space from the edges to the start of the strawberry jam.
- Top each filled pastry with the second puff pastry cut outs. Use a fork to seal the edges together, keeping the strawberry jam inside.
- Whisk an egg together quickly to use as an egg wash on top of the pastries.
- Then poke small holes with a fork into the pastries before placing in the oven for 20 minutes.
- Bake these until the tops are golden brown, then remove from the oven to cool. Don’t worry, there will be some leakage of the strawberry filling.
- While the pastries are baking, make the icing.
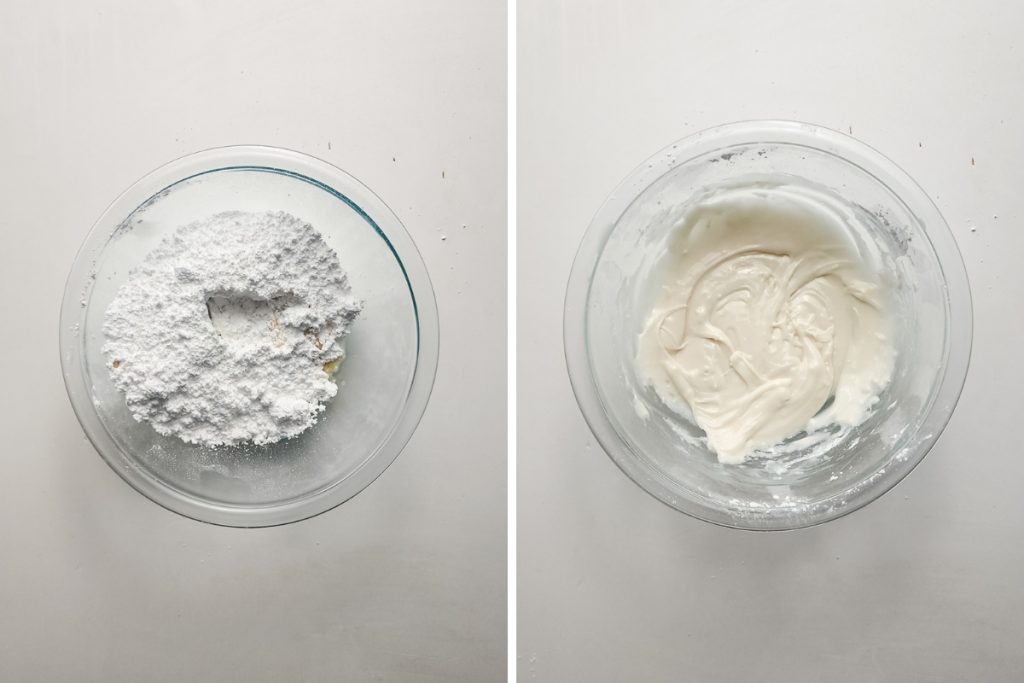
- In a small bowl, add the powdered sugar, vanilla extract and milk all at once. Whisk together until combined and smooth throughout. Add more or less milk to create a glue like consistency.
- Transfer this into a piping bag. Either cut the tip or use a long rectangular metal piping tip, to create mummy like strips of frosting across the pastry.
- Once the pastry has mostly cooled, place 2 eyes on each pastry, slightly pressing into the pastry. This will be sealed better after covering with frosting, as the eyes should come through under the mummy wrapping.
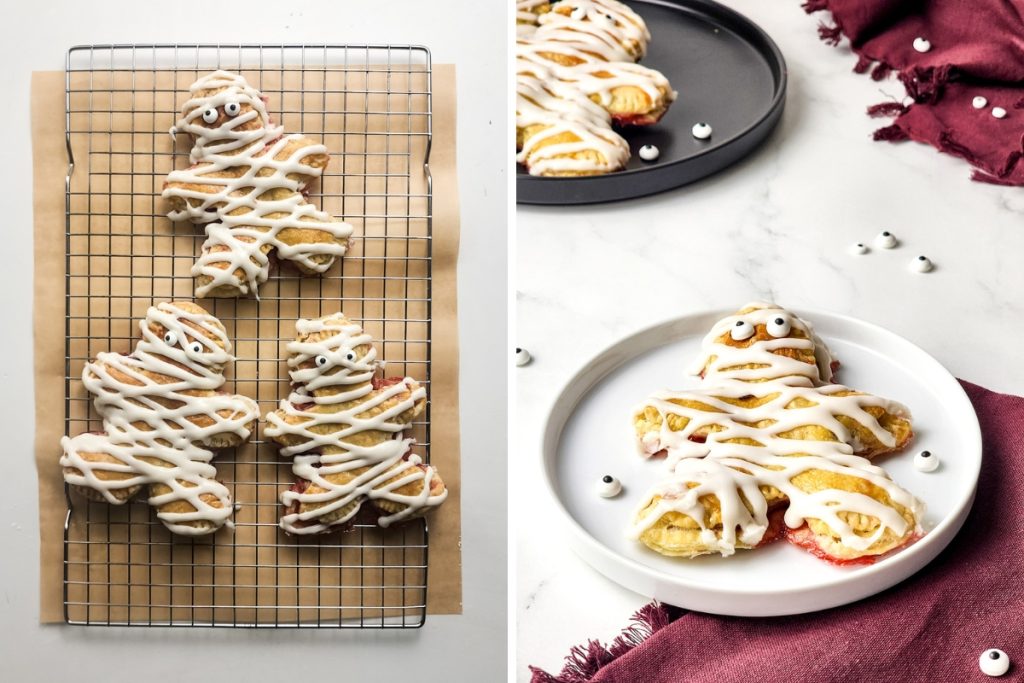
- Transfer the mummies to a cooling rack with parchment under so any excess frosting is caught.
- Take the piping bag of frosting and create strips back and forth over the mummy pop tart pastry to resemble the paper covering an actual mummy. Continue this until most of the mummy is covered.
- Let the icing on these dry for at least 15-20 minutes. Then enjoy or save for later!
- Prep Time: 20 minutes
- Cook Time: 20 minutes
- Category: Sweet Treats
Step-By-Step Process


These Mummy Halloween Pop Tarts are perfect for parties, trick-or-treat gatherings, or as a festive snack to enjoy at home. They’re cute, tasty, and surprisingly simple to make, making them an ideal recipe for getting into the Halloween spirit.
Guests will love the fun look, and you’ll appreciate how little time they take to prepare. For even more easy and delicious holiday treats, browse through my collection of party-friendly recipes.
If you liked these mummies, you’ll also enjoy the Frankenstein Rice Krispie Treats and the Sweet Pumpkin Dip recipes for more spooky fun.
© Little Party Pixie 2026