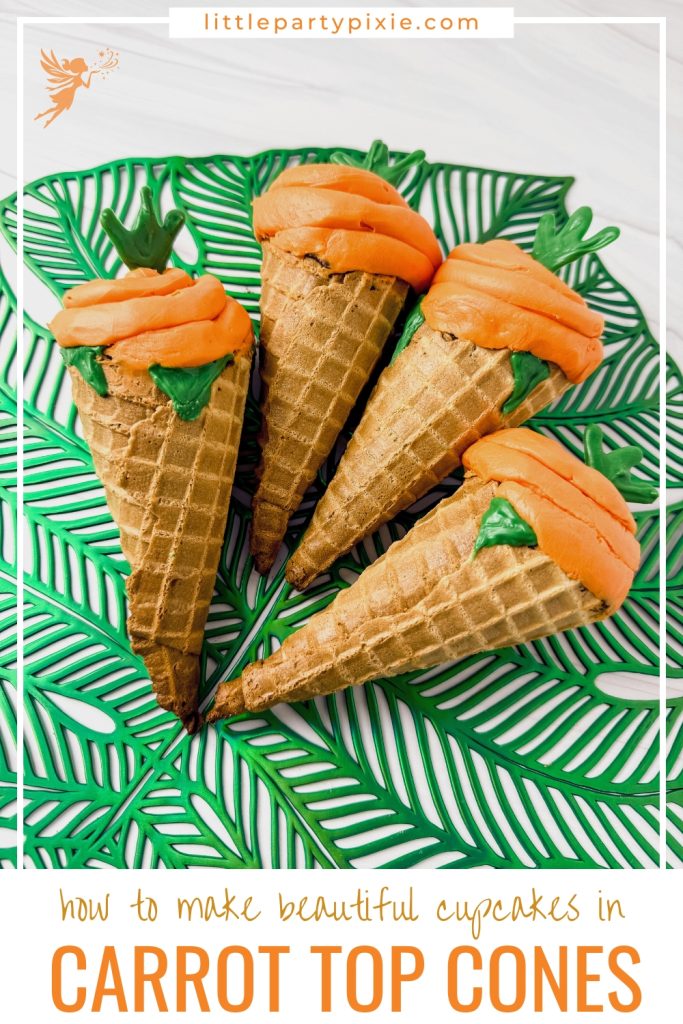
Adorable Spring-Inspired Carrot Top Cone Cupcakes
Bring the magic of spring to your Easter table with these whimsical Carrot Top Cupcake Cones!
Using simple cake mix, waffle cones, and creative decorating techniques, these treats look like carrots freshly pulled from the garden. Don’t let their impressive appearance fool you – these adorable desserts are surprisingly achievable for home bakers of any skill level. They’re the perfect way to add a playful touch to your spring celebrations!
Can’t make it now? Save it to Pinterest for later
Equipment You Will Need
- Piping bags
- Hand or stand mixer
- Microwave safe bowl
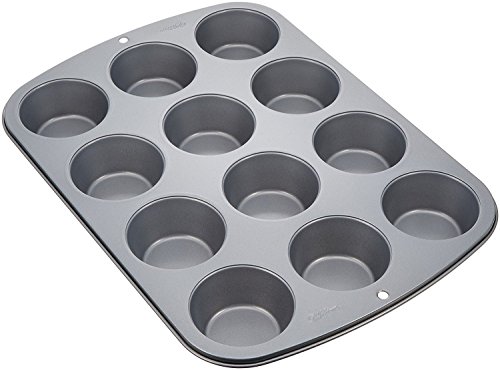
- Muffin pan
- Cupcake liners
- Ice cream scoop
- Parchment paper


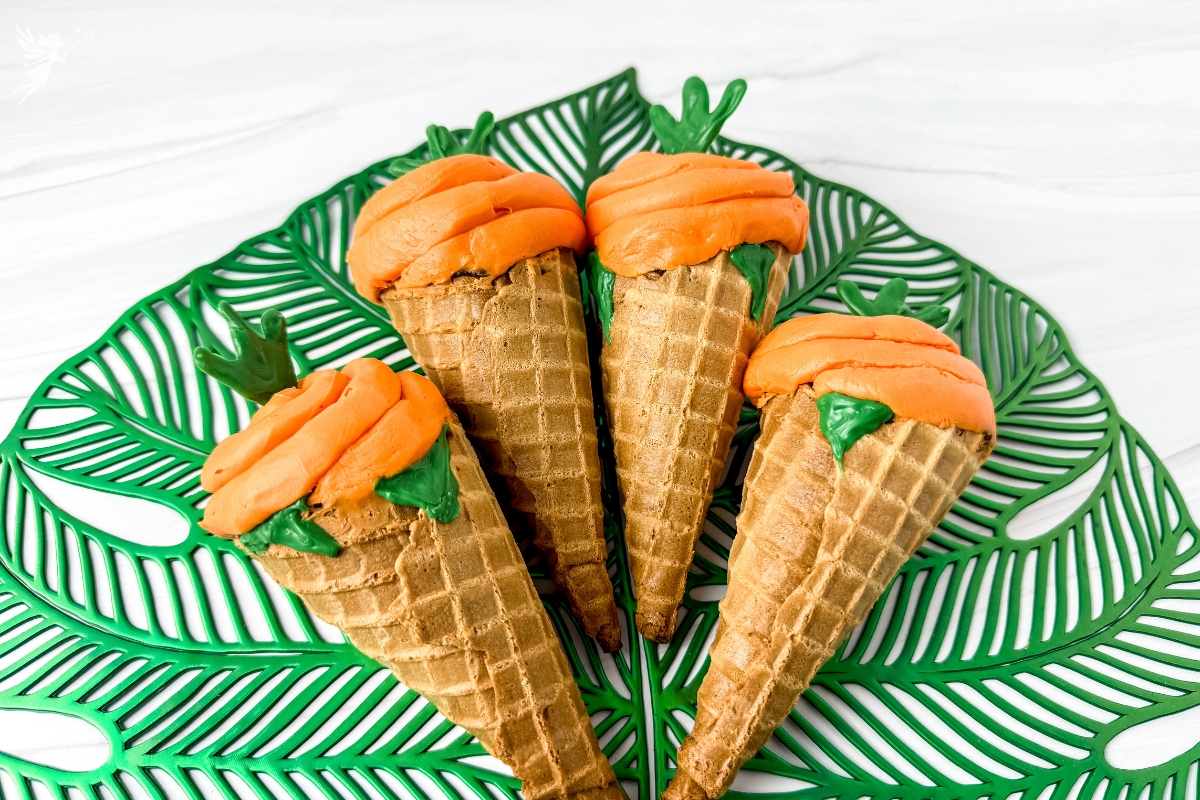
Carrot Top Cupcake Cones
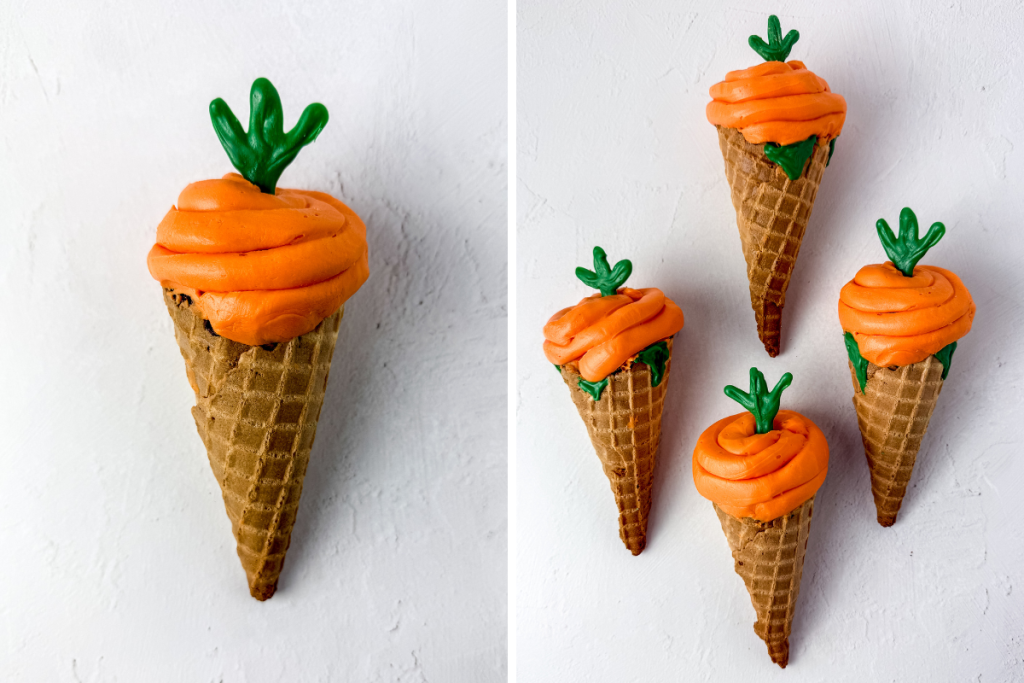
These playful cupcake cones look just like little carrots—perfect for spring or Easter! Moist cupcakes are baked right in waffle cones, topped with bright orange buttercream “carrots,” and finished with green chocolate fronds for a fun, festive touch.
- Total Time: 50 minutes
- Yield: 6 1x
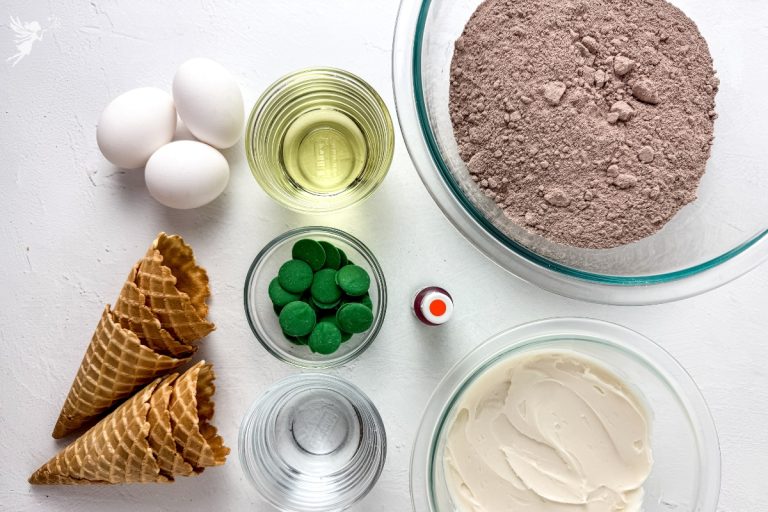
Ingredients
1 box cake mix
1/2 cup oil
1 cup water
3 eggs
8 ounces white buttercream
6 waffle cones
2 ounces green melting chocolate
Instructions
- Mix the ingredients for the cake mix according to the box.
- Put the cupcake liners in the muffin tin and use a spoon or ice cream scoop to fill the liners a third of the way.
- Place the waffle cones inside of the cupcake liners, open side down.
- Bake the cupcakes according to the instructions for cupcakes on the box.
- Allow the cupcakes to cool.
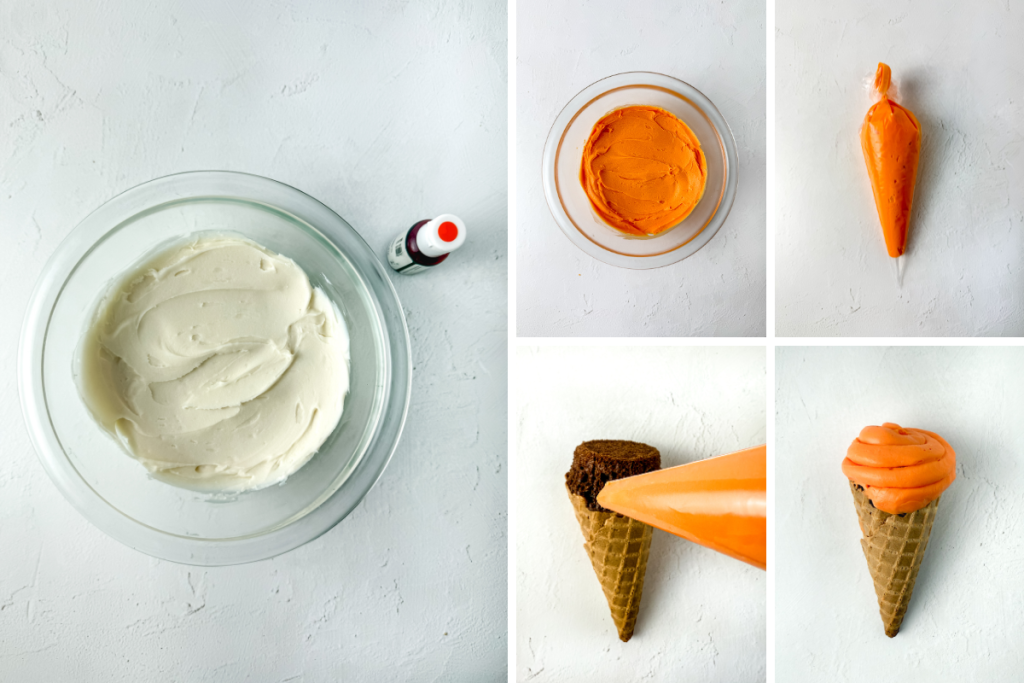
- While the cupcakes are cooling, place the buttercream in a medium size bowl and add 3-4 drops of orange gel color. Mix it until all the buttercream is orange, place the buttercream in a piping bag and secure the end.
- Next place the green chocolate melts in a microwave safe bowl, heat them in 30 intervals. Stir in between each interval until the melts are liquid.
- Put the chocolate in a piping bag and cut a medium size hole in the tip.
- On a sheet of parchment paper, pipe a vertical straight line about 2 inches long and then pipe several horizontal small lines from the vertical line. This will be the fronds for the carrot. Let the fronds sit for 5 to 10 minutes to dry. (Tip: if the frond feels too thin, pipe over the original to make it thicker.)
- Repeat this step for all the carrot cones you plan to make.
- Once the cupcake cones are completely cooled and the the fronds are dry, its time to assemble the cupcake carrot cones.
- Start by turning the cupcake cones upright, carefully remove the cupcake liner.
- Pipe the orange buttercream in a swirl around the cupcake portion of the cone, until it is completely covered.
- Stick the green chocolate frond in the top portion of the cupcake. Try to make sure its in the middle.
- Use the remaining green chocolate in the piping bag to pipe leaves shapes wherever the buttercream doesn’t cover the cupcake. Let the chocolate dry.
- Serve and Enjoy
Notes
- These cupcake cone carrots are best eaten fresh but they can be stored in air tight container in a the fridge for 2-3 days.
- If its hard to pipe on the cone while its in your hand, place the cone in a cup to hold it while you pipe around it.
- If you want to lay the cupcake cones on a flat surface without them losing their shape, place the cupcake cones in the fridge upright for about 10-20 minutes to ensure they will keep their shape.
- This recipe is for 6 cones but can be doubled to create more cones.
- Prep Time: 25 minutes
- Category: Sweet Treats
Step-By-Step Process


These Carrot-Top Cupcake Cones aren’t just desserts—they’re conversation starters! They’re perfect for Easter gatherings, spring parties, or any celebration that needs a touch of whimsy. Make them the morning of your event for the freshest results, and watch as guests’ faces light up when they spot these creative treats!
Try the kid-friendly Easter Bunny Meringue Cookies and the whimsical Easter Layer Cake to round out your Easter dessert spread.
More Easter Inspiration
Looking for more spring celebration ideas? Pair these with our Kids Easter Mocktails, keep the festivities going with our Easy Easter Crafts, or explore our Easter Sweet Desserts collection and Funny Bunny Recipes for more themed treats!
© Little Party Pixie 2026